This article contains affiliate links. If you buy through them, I may earn a commission at no extra cost to you. As an Amazon Associate I earn from qualifying purchases.
I used my aluminium-boiler Gaggia Classic with Gaggimate Pro for six months of daily shots before making this review. I would do the upgrade again, but the failed board and the small boiler are part of that recommendation too.
This article follows my six-month video review. The photos are frames from that video, and the links in the text jump to the relevant experience.
My setup and the experience behind this review
| Detail | What I used or experienced |
|---|---|
| Machine | Gaggia Classic with the aluminium boiler |
| Mod | Gaggimate Pro, including the pressure sensor |
| Scale | Bookoo Themis Mini, connected by Bluetooth |
| Use before the review | Six months of daily shots |
| Installation | About three hours; fitting the pressure sensor was the hardest part for me |
| Failure | Black display, a board fault traced to the 5 V power supply, and a replacement from support |
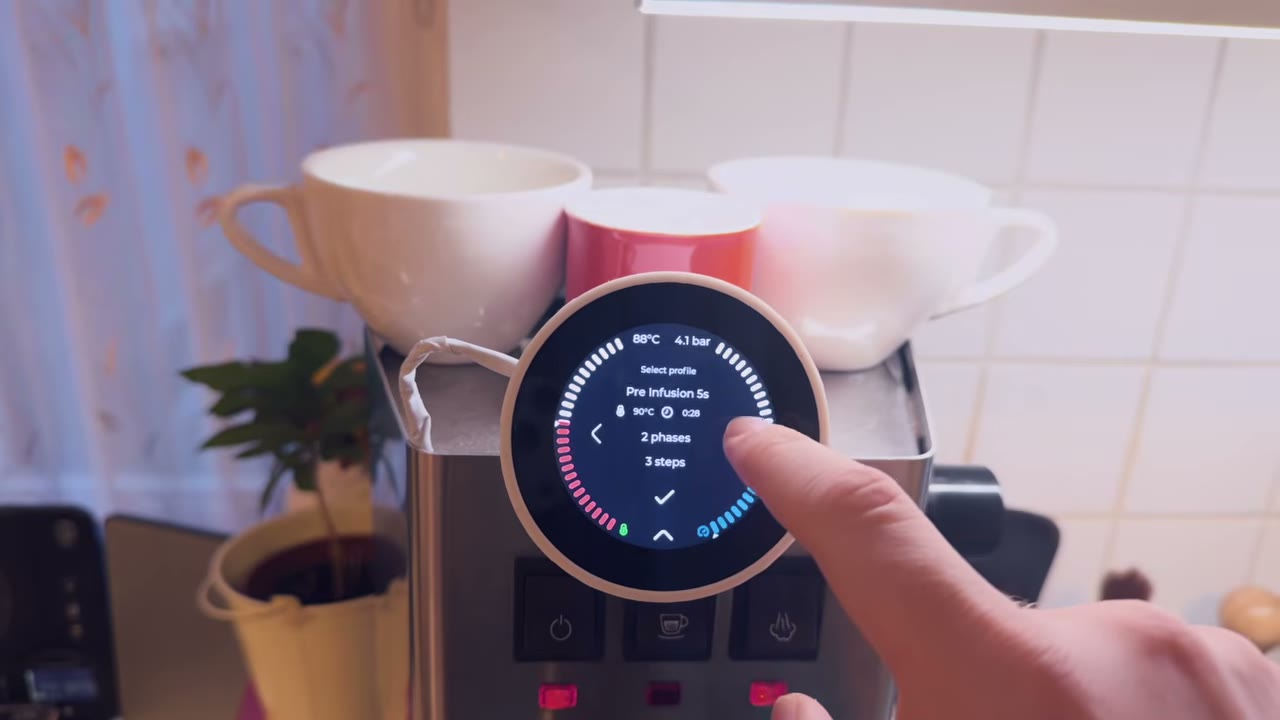
The round display and its visible cable in the title photo are my actual installation. I still use the physical Gaggia buttons, which is one of the details I like most about the mod.
Quick answer: should you buy the Gaggimate?
Buy it if you enjoy projects and want to understand why espresso works, not only that it works. For that person, I think a Gaggia Classic with Gaggimate is a good use of the budget.
Skip it if you just want good coffee in the morning with zero maintenance. Buy a finished machine and spend the Saturdays you save drinking lattes instead of debugging them.
What the Gaggimate actually changes
Before the mod, I had to work around the Classic’s heating cycle. Now I choose a temperature setpoint and brew profile. At 1:22 in the video, I describe the PID and the ability to change the temperature setting during a shot.
When I say I set 93 °C, that is the control setting. The video does not establish that the water at the puck stays at exactly 93 °C throughout a shot. That distinction matters with the small boiler I discuss below.
Three features make the difference:
- A real PID. You set a brew temperature, and with the advanced profiles you can even change the temperature during the shot.
- Pressure profiling. It works very well, but only on the Gaggimate Pro, because you have to add a pressure sensor to the water circuit. For me, that was the hardest part of the install.
- Stop-by-weight. I use a 36 g target and let the machine handle stopping the shot.
For stop-by-weight I use the Bookoo Themis Mini. Once paired, you only switch it on and it reconnects after a few seconds. If you want a cheaper option, I compared it against a €15 alternative in Bookoo vs MyScale for Gaggimate.
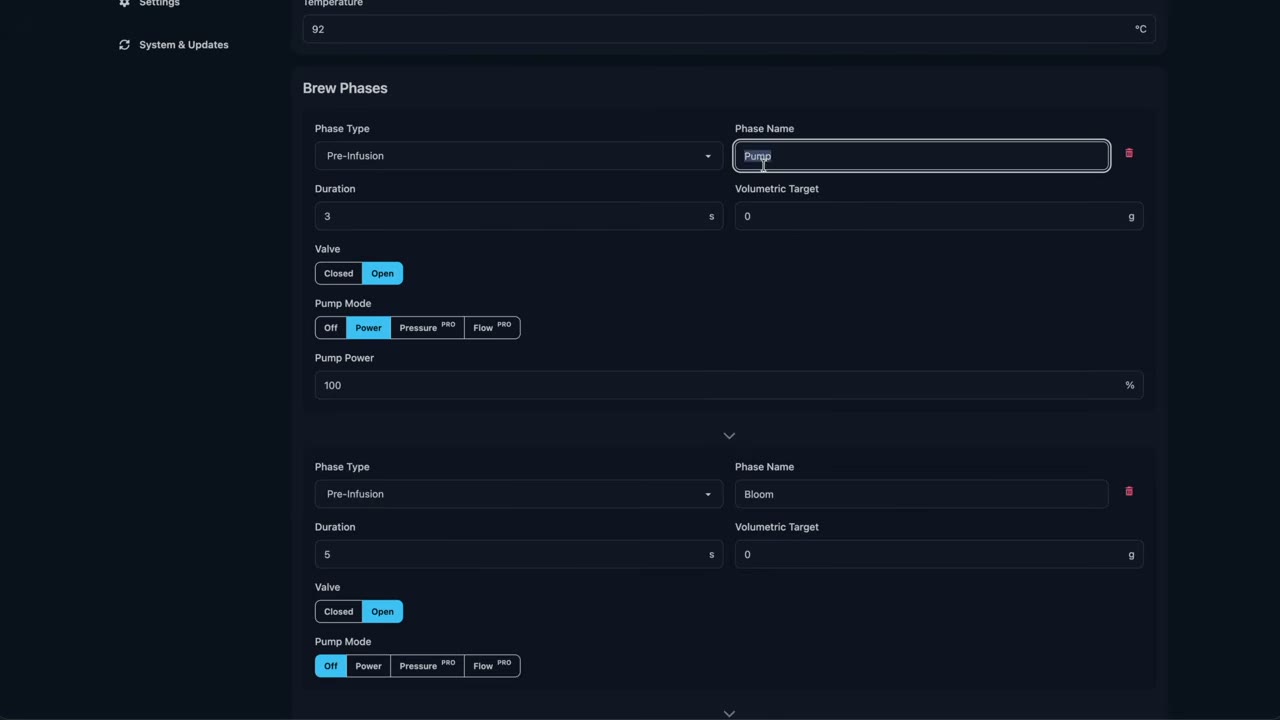
The firmware is open source, so anyone can contribute and adapt it. I have even seen someone on the Gaggimate Discord install it in a DeLonghi Dedica.
Steaming got much better
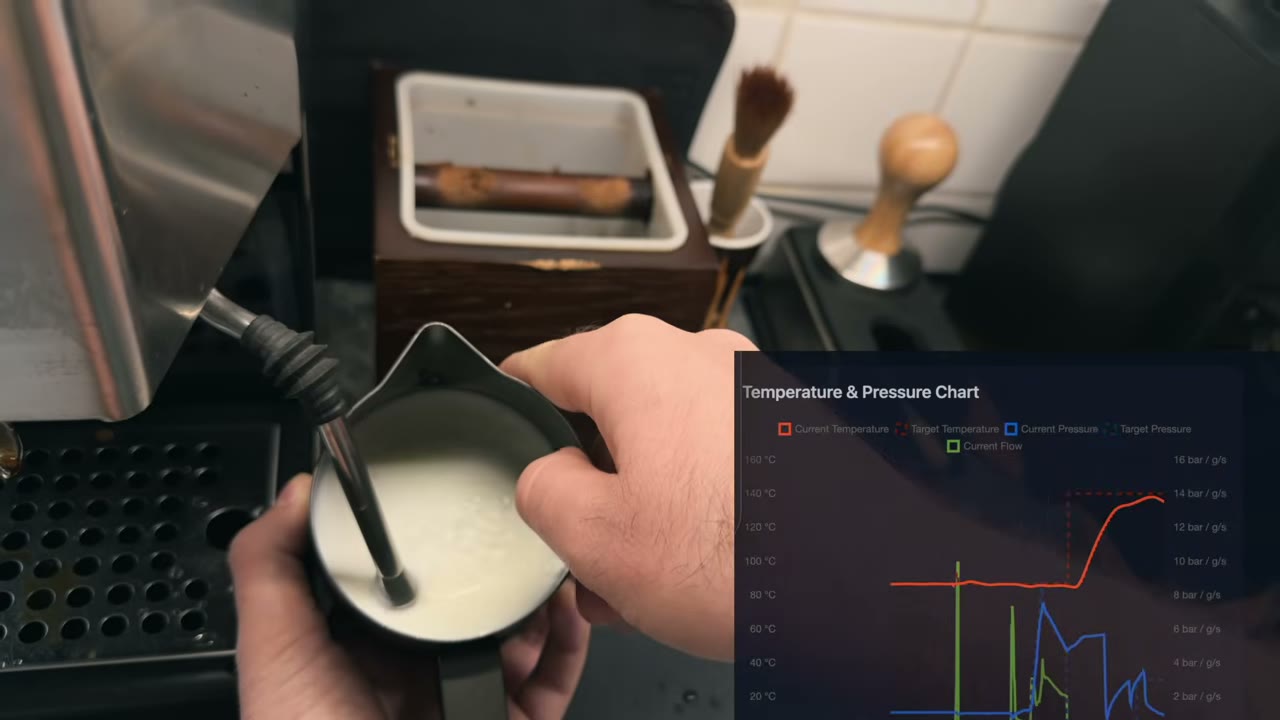
The biggest day-to-day win for me is usability. Steaming used to be annoying on the Classic. In the video I describe steaming enough milk for two cappuccinos together.
At 2:38, I explain why Steam Assist made this easier for me: the pump pulses water into the boiler while I steam. I usually see around 0.9 bar and get useful results with the stock steam wand.
The problems nobody puts in the ad
My board died
At 3:18 in the review, I describe the failure that happened a few weeks before filming. I pressed the power button and got a black display. After troubleshooting I traced it to the board’s 5 V power supply, which had a manufacturing defect.
I could still power the board over USB, but that meant opening the machine while I could not brew coffee. The Gaggimate support and Discord were helpful, and I received a replacement board without a hassle. That improved my confidence in getting help. It does not tell me how often other boards fail.
It is a DIY project under mains voltage
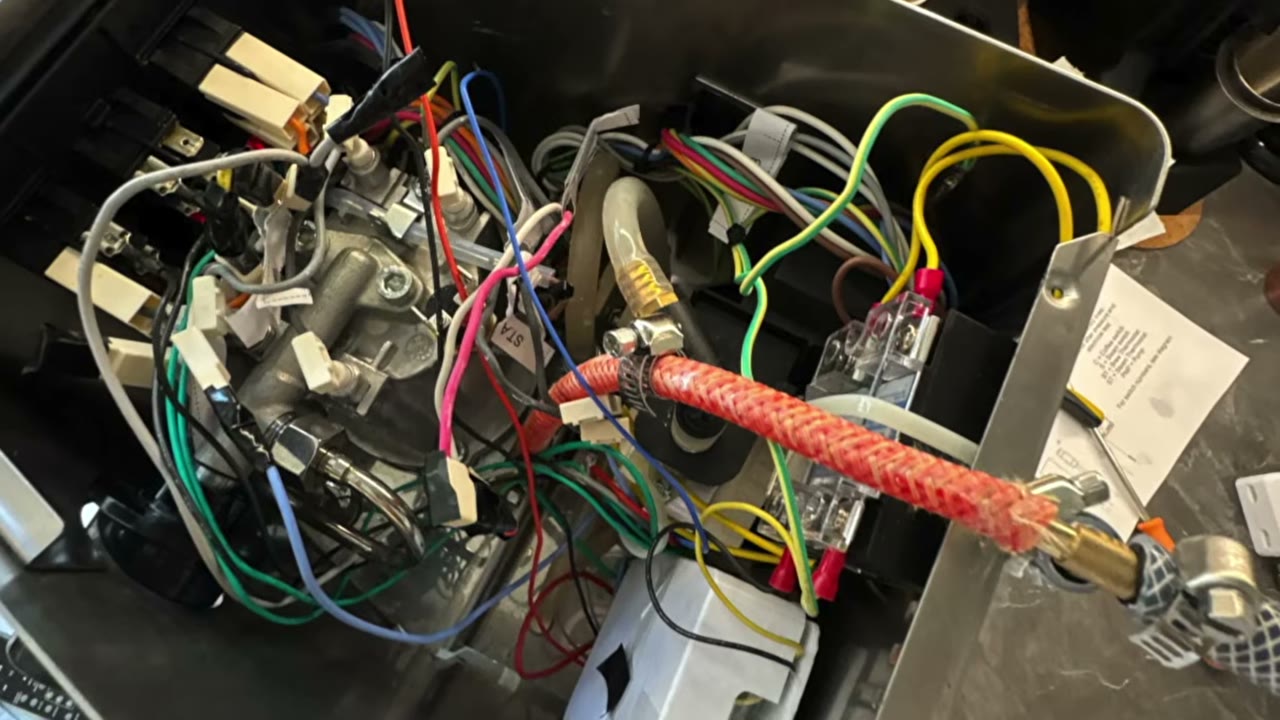
You are responsible for the installation. Things can break and you may have to open the machine again. The upside is that you also learn how to fix it yourself, where other people would bin the machine or pay a repair shop.
But it is still a self-installed electronics project running on mains power two meters from your sink. I unplug the machine every night. Maybe that is paranoid, but I am not sure insurance would cover damage from a short circuit. Switching off at night is my routine, not a substitute for a correctly installed and checked machine.
Installation is medium difficulty
At 5:13, I describe the installation, which took me about three hours. The manual is decent and the Discord is gold, but if you have never stripped a cable, bring a friend who has. When I did it there were no installation videos on YouTube. Now there are some good guides on other channels, so it is very doable.
Once it runs, bugs are minor. I especially like that the physical buttons still work, which keeps the tactile Gaggia feel.
It looks modded
I am not in love with the display design, especially the thick bezel and the visible cable. Function over form. Because it is a kit, you can change that, and I have seen people use other displays or route cables more cleanly. Out of the box, it looks a bit homemade.
Physics still applies
The mod cannot change the Classic’s tiny boiler. Mine is the aluminium version; newer machines have a larger brass boiler. Once the preheated water is used up, cold refill water drops the temperature, and shots can fade and under-extract. That matters most for light roasts that need every degree.
The PID helps, and newer firmware adds a heater pre-boost with a lot of power, but it is still a small-boiler machine. At 6:26, I explain this limit. For very light roasts, I would consider a machine with a larger boiler rather than expect the mod to remove the Classic’s thermal limits. For medium and darker beans, I am happy with the results. I did not publish a blind tasting or a separate puck-temperature measurement in this review.
What it costs
These are the approximate prices I quoted in the video, not current shop offers. They exclude the grinder and scale.
| Item | Price quoted in the video |
|---|---|
| Gaggia Classic | ~€450 |
| Gaggimate kit | ~€225 |
| Good bottomless portafilter | ~€40 |
| Precision basket | ~€20 |
| Total | ~€735 |
At that budget I would also compare used machines. For me, Gaggimate earns its place through the open-source updates, flow charts, and community profiles, as well as the coffee. I enjoy working on the machine, and that is part of why I chose this route.
The parts I use with mine:
- Gaggia Classic Evo Pro
- Bottomless portafilter for the Gaggia
- IMS 58 mm basket
- Bookoo Themis Mini or the budget MyScale for stop-by-weight
It will not make you a barista
Installing the mod does not magically make better espresso. You still need to understand the variables. More variables, like flow and pressure profiles, can even make the learning curve steeper for beginners.
My verdict after six months
I would do it again, 100%. I recommend it if you love projects and want to learn how espresso works. If neither is true, your budget mod can turn into a very expensive doorstop.
I like the espresso and would keep this setup, including its maintenance and small-boiler limits. If you are deciding between this and a high-end machine, read my Lelit Bianca vs Gaggia Classic with Gaggimate comparison.