A tamper belongs in my espresso setup. WDT is the extra step I would keep. A leveler is the one I would leave off the shopping list first.
In my video about these three tools, I explain that recommendation while showing puck preparation at home. The setup includes my Lelit Bianca, Eureka Mignon, a dosing funnel, a needle WDT tool, a leveler, and a tamper. The frames below come from that video.
This is a workflow demonstration, not a controlled comparison. I did not publish paired shots, extraction-yield measurements, or a blind tasting with and without each tool. My recommendation is about which jobs the tools perform and what I find useful in my routine.
What each tool does
| Tool | Job | My buying priority |
|---|---|---|
| Tamper | Compresses the distributed grounds into a puck | First, with a base that fits your basket |
| WDT tool | Uses fine needles to break up clumps and redistribute grounds before tamping | Next, especially if the grounds are clumpy |
| Leveler | Smooths the top of the bed with a rotating base | Optional |
A flat-looking surface does not tell you how evenly the coffee is distributed underneath. That is why I treat distribution and tamping as separate steps.
WDT: distribute before you compress
At 0:23 in the video, I start with WDT. The needles move through loose grounds before tamping. In the close-up, I leave the dosing funnel on the basket while working, which keeps coffee from spilling over the rim.
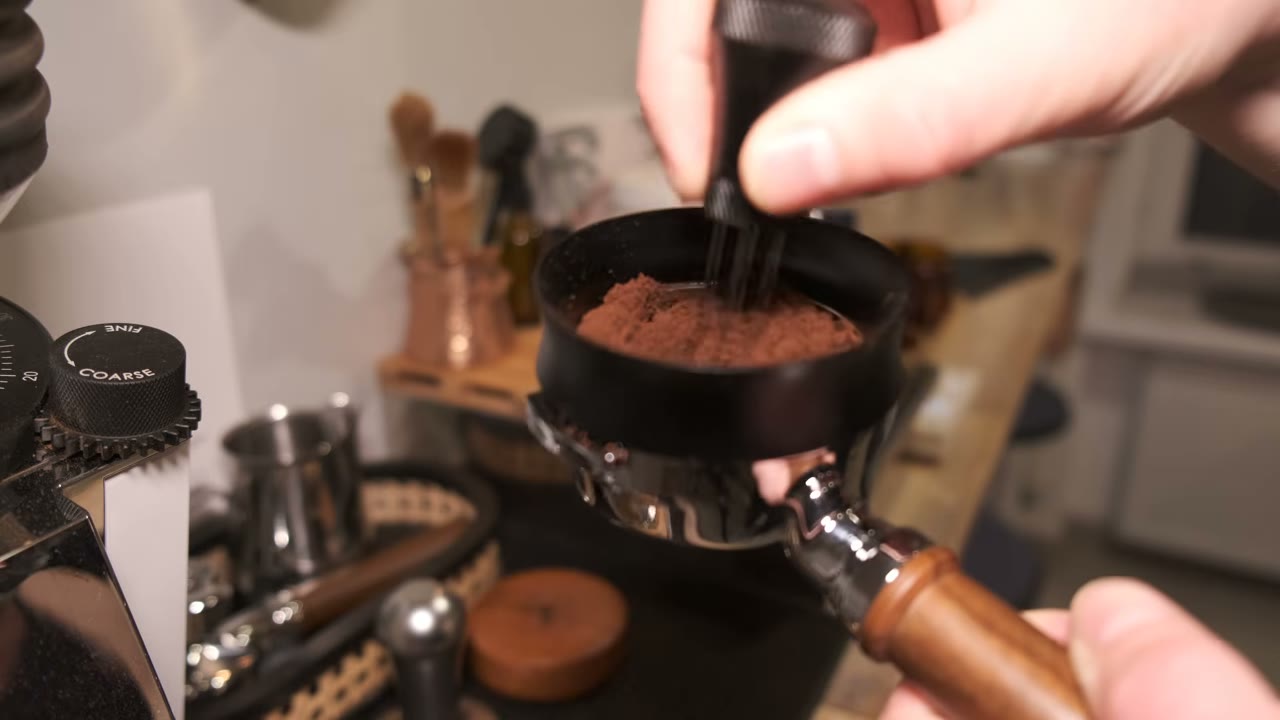
For me, WDT is close to indispensable. If your grinder leaves clumps, it gives you a way to address them before compressing the bed. It does not remove the need to dial in the grind, use a suitable dose, or tamp level.
I would avoid judging it by one beautiful bottomless shot. Keep the beans, dose, grind setting, and target yield the same when comparing your own routine. Look at repeatability and taste over several shots. If the cup is already good and consistent, there is no reason to buy another tool just to make the preparation longer.
Leveler: a smooth top is not the whole puck
At 1:44, I discuss the leveler. You put it on the grounds and rotate it to smooth the surface. Some people like that step because it makes preparation feel more repeatable.
My reservation is the depth. A leveler works from the top, and a neat finish does not prove uniform density throughout the basket. In the video I discuss the possibility of uneven pre-compression, not a measured defect in every leveler.
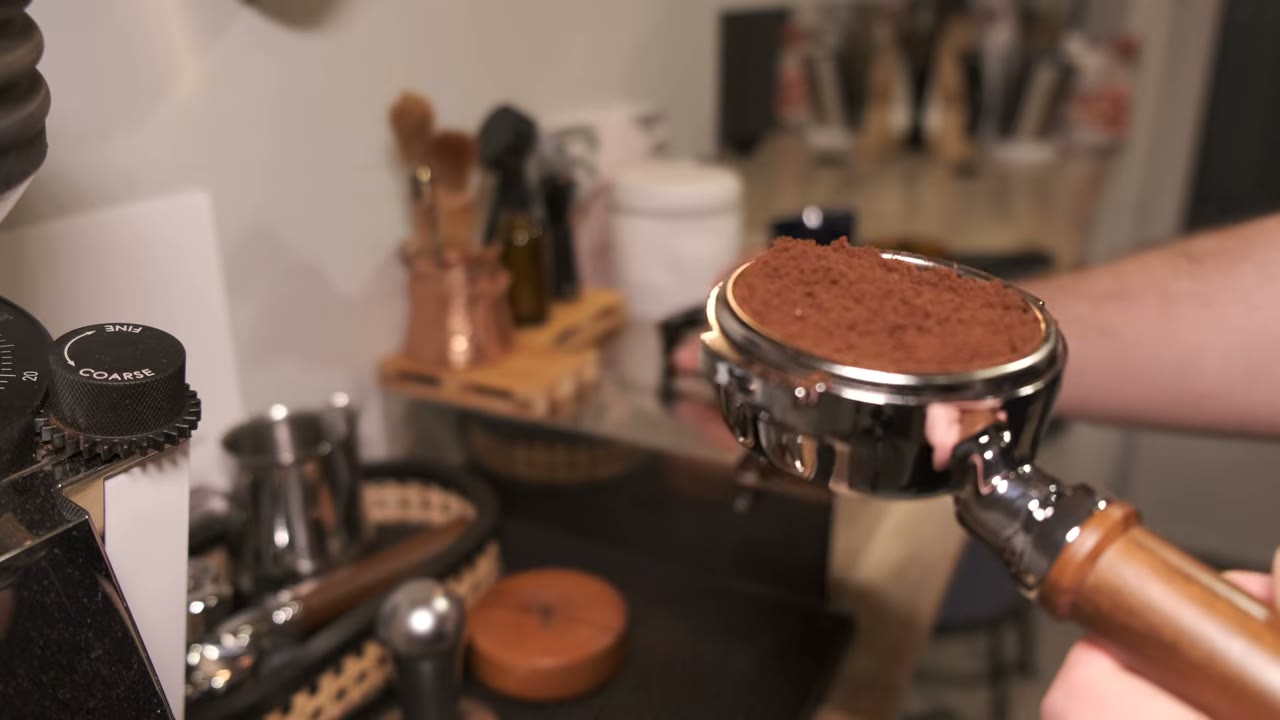
I would start with WDT and careful tamping, then see whether I actually miss the leveler. If you own one and like the routine, that is a reason to keep it. It is not evidence that everyone needs one.
Tamper: the step I would not skip
The tamper section starts at 3:02. After distribution, I compress the grounds with the portafilter supported on the mat. The aim is a level, compact bed, not a particular number of kilograms of force.
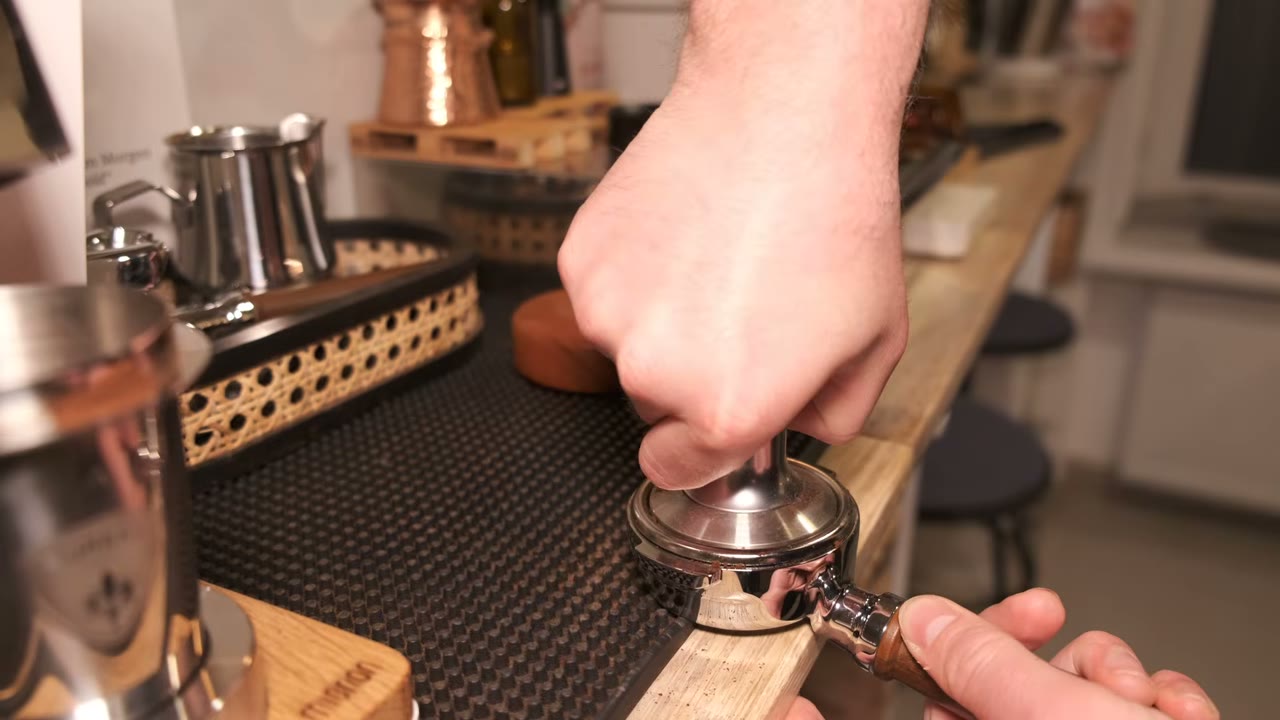
Check your basket before buying: a tamper that is too small leaves an untouched ring around the edge. A more expensive handle will not fix the wrong base size. I would spend on a good fit before adding a distributor.
Where I would start
For a new setup, get the fitting tamper first. Add a simple WDT tool if you want to work on distribution. Leave the leveler until you know what you want it to change.
If your bottomless portafilter still sprays, do not assume another accessory will solve it. Work through my guide to a spraying bottomless portafilter, including grind, dose, basket, and preparation. For the machine and grinder behind the workflow, see my setup.